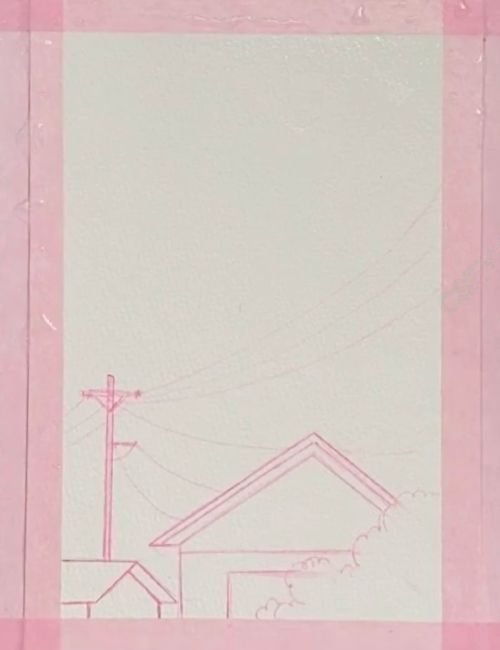
Watercolor of Sunset and Roofs with this Step-by-Step Tutorial

Disclosure: This post contains affiliate links, meaning if you make a purchase via the links, we will earn a commission at no additional cost to you. Please read the full disclosure.

Disclosure: This post contains affiliate links, meaning if you make a purchase via the links, we will earn a commission at no additional cost to you. Please read the full disclosure.

watercolor

Before we begin, let’s gather the essential materials you’ll need for this watercolor tutorial:

With these materials at hand, you’ll be well-equipped to embark on your watercolor skyline painting journey.

Introduction to watercolor painting

Watercolor painting is an enchanting art form that captures the essence of nature’s beauty with a delicate touch. In this tutorial, we will embark on a journey to create a breathtaking watercolor landscape featuring a sunset over rooftops. Whether you’re a beginner or an experienced artist, this step-by-step guide will unveil the secrets to mastering the art of watercolor painting.

Watercolor is a versatile medium that allows for a harmonious blend of colors, creating a sense of depth and atmosphere. By following this tutorial, you will not only learn the techniques but also develop an appreciation for the subtleties of this captivating art form. So, let’s gather our materials and dive into the world of watercolor painting.

watercolor

Step 1

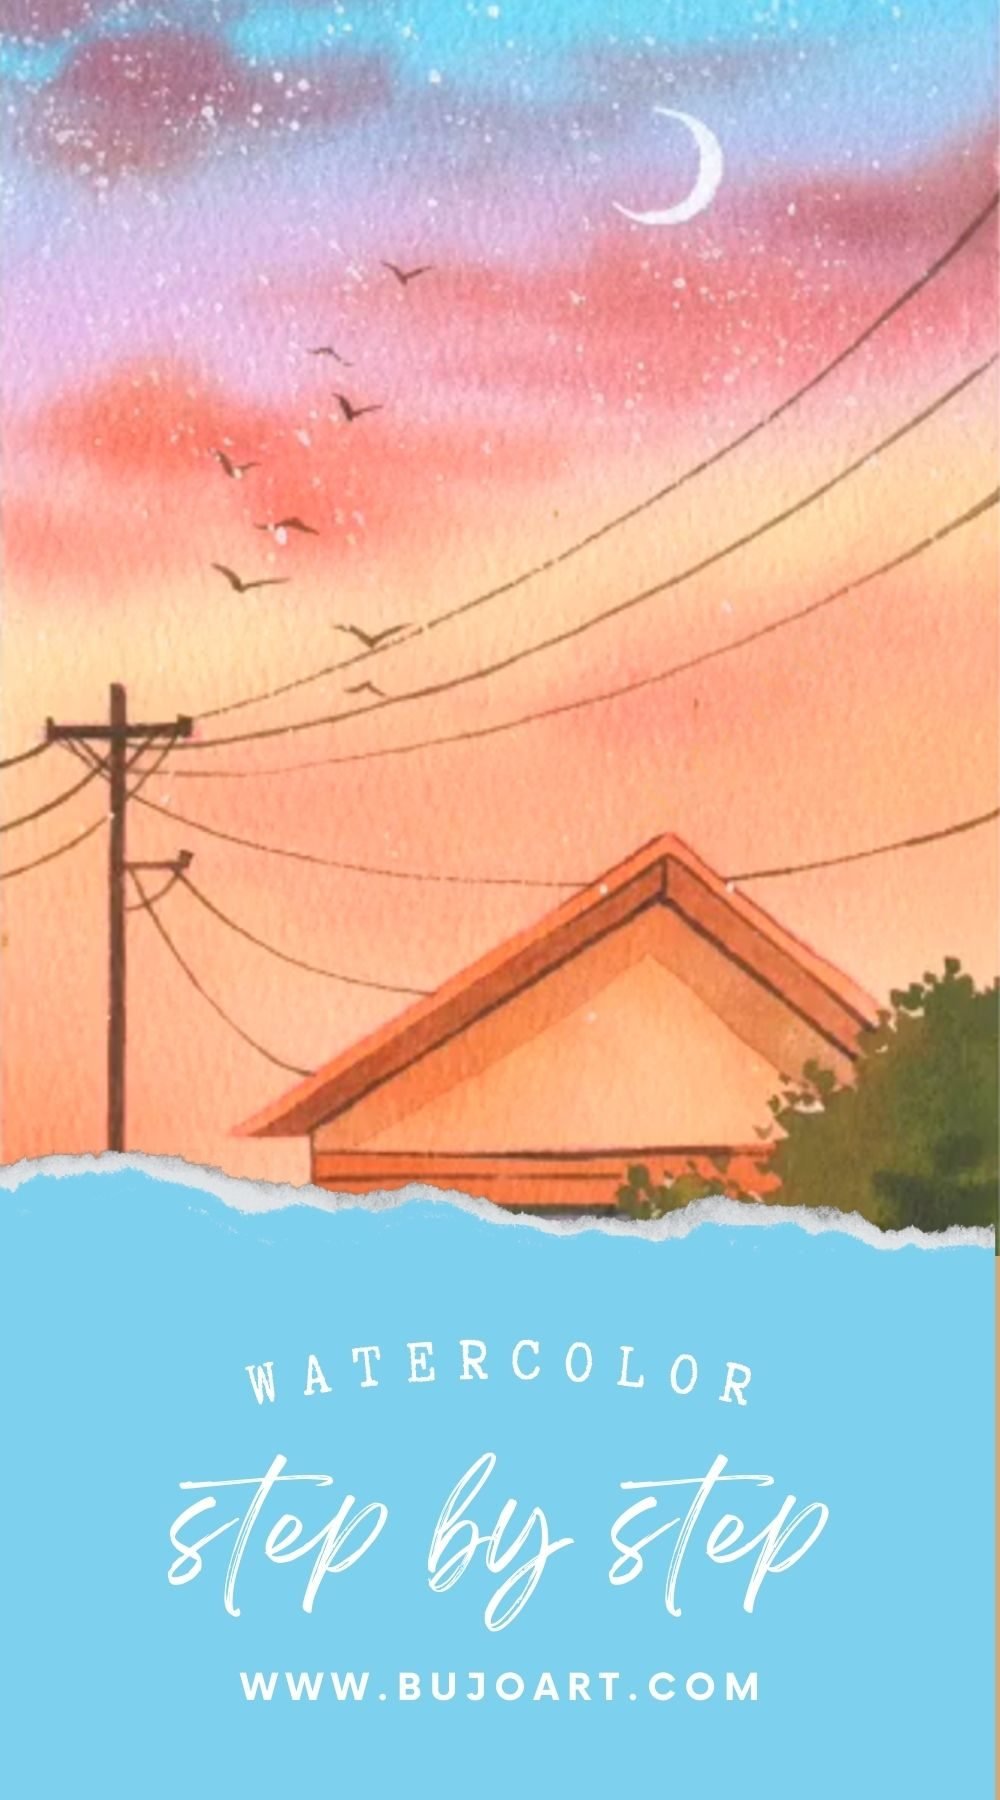
Sketch the scene: Start by lightly sketching the outline of the rooftops on your watercolor paper. Pay attention to the angles and shapes of the roofs, and try to create a sense of depth and perspective. At the end, sketch any additional details you wish to include, such as chimneys, trees, or other architectural elements. Remember, the sketch is just a guide, so don't worry about perfection at this stage.

watercolor

Step 2

Choose the color palette: Selecting the right color palette is crucial in watercolor painting. For our sunset and rooftops scene, we'll need a range of warm and cool colors to create a harmonious and vibrant composition. Begin by wetting the entire sky area with clean water. This will help the colors blend smoothly.
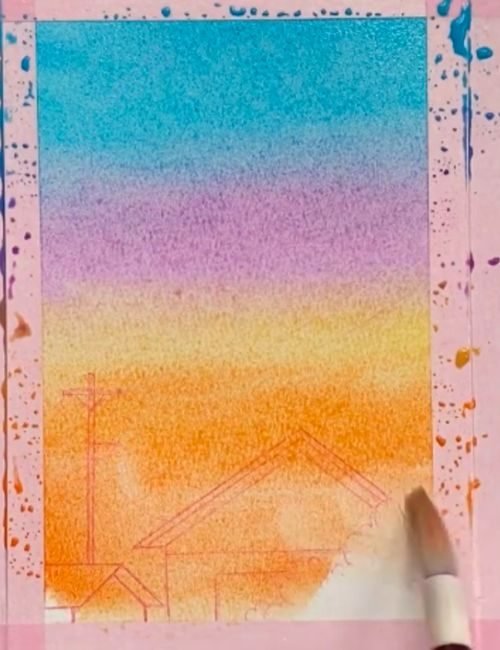
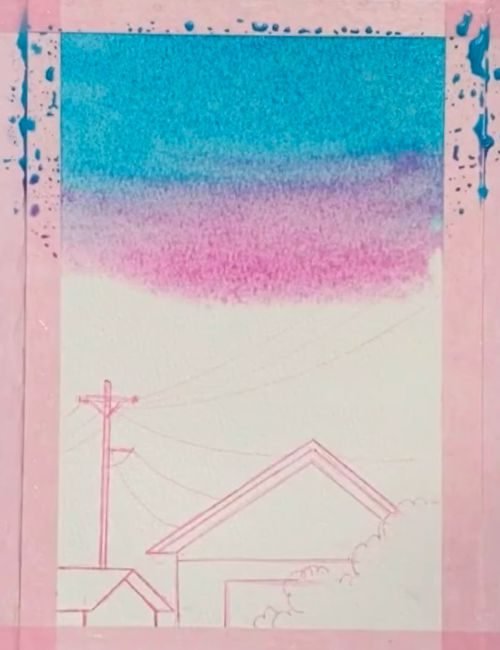
watercolor

Step 3

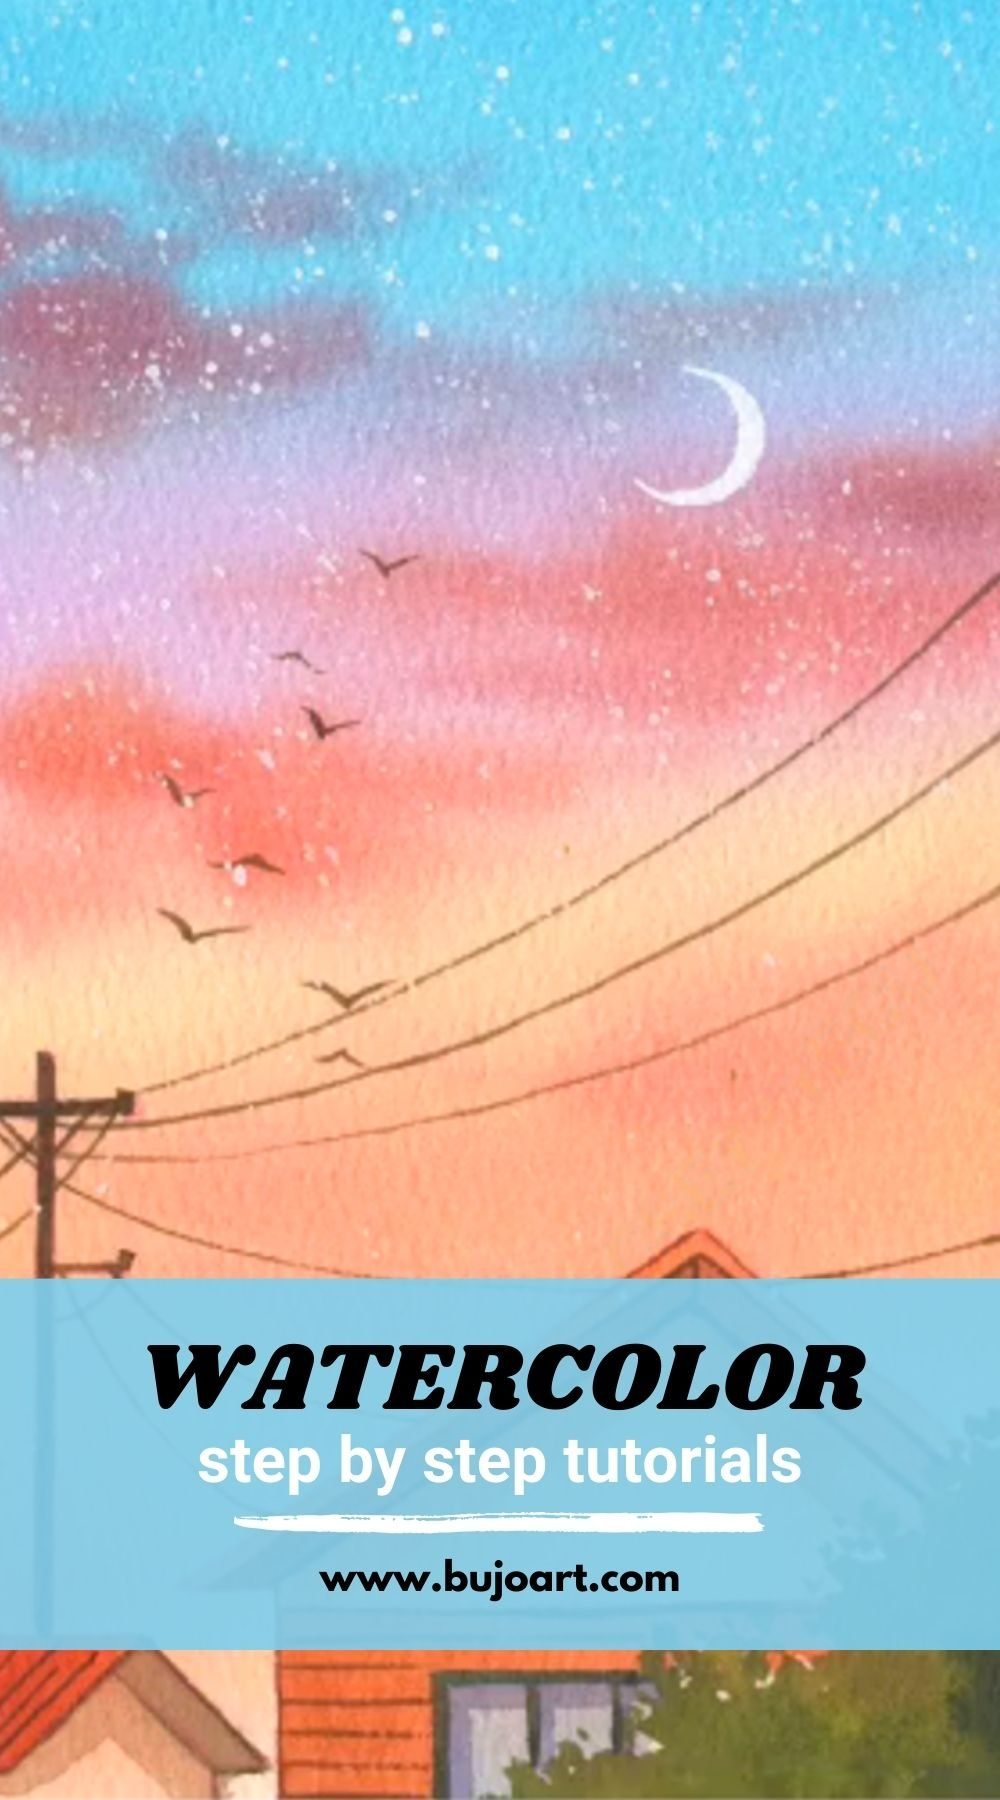
Paint the sky: Using a large brush, start applying a wash of Sky Blue or Ultramarine Blue at the top of the sky. Gradually transition to a mix of Untramarine Violet and Cadmium Orange as you move towards the horizon line.
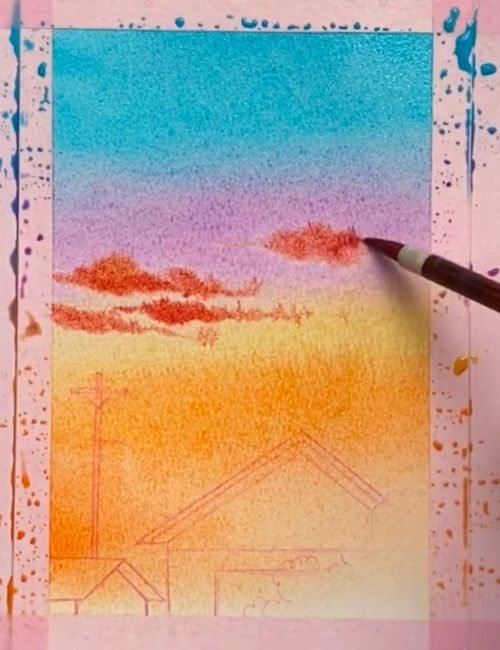
watercolor

Step 4

Paint the clouds: While the paint is still wet, use a small round brush to create cloud shapes using dark orange. This technique will add depth and interest to the sky.
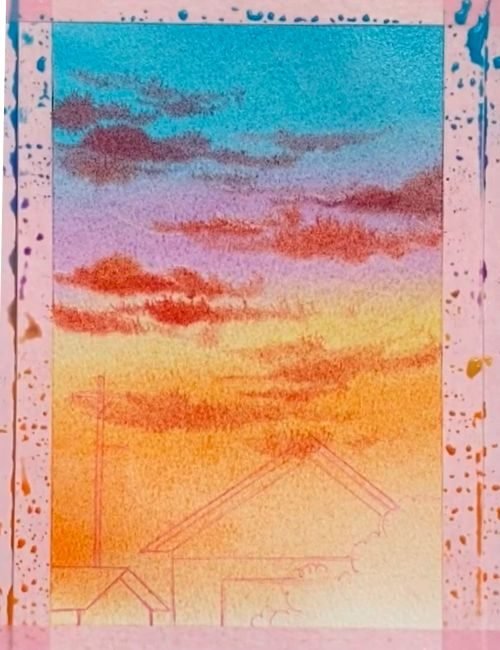
watercolor

Step 5

Dry the paper: Allow the sky to dry completely before moving on to the next step.
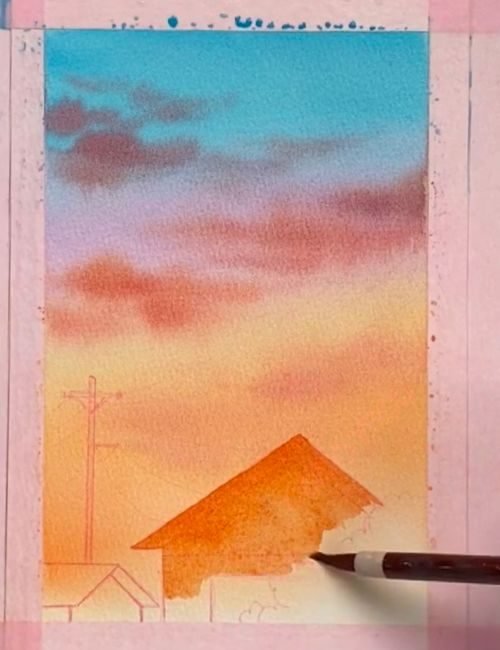
watercolor

Step 6

Paint the roofs: Start by mixing a warm color, such as Burnt Sienna or Cadmium Red, with a touch of Payne's Gray or Burnt Umber to create a rich, earthy tone for the roofs. Using a flat brush, carefully paint the shapes of the rooftops, following the guidelines from your initial sketch. Pay attention to the angles and perspective to create a sense of depth.
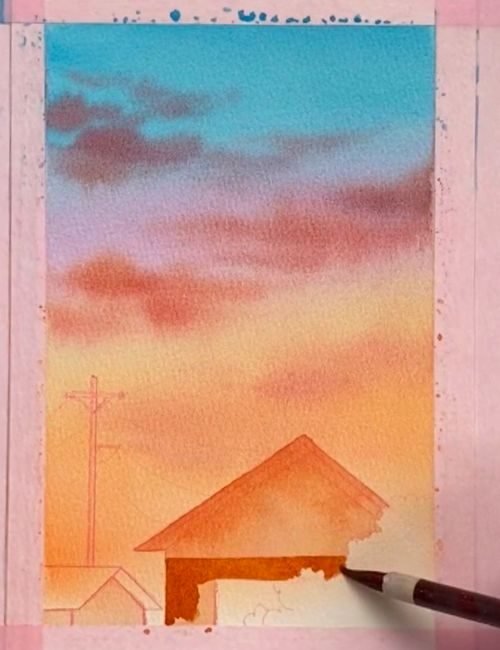
watercolor

Step 7

Add details of the houses: Once the base color is applied, add variations in tone by mixing in more or less of the neutral colors. This will create subtle shadows and highlights, adding dimension to the roofs.
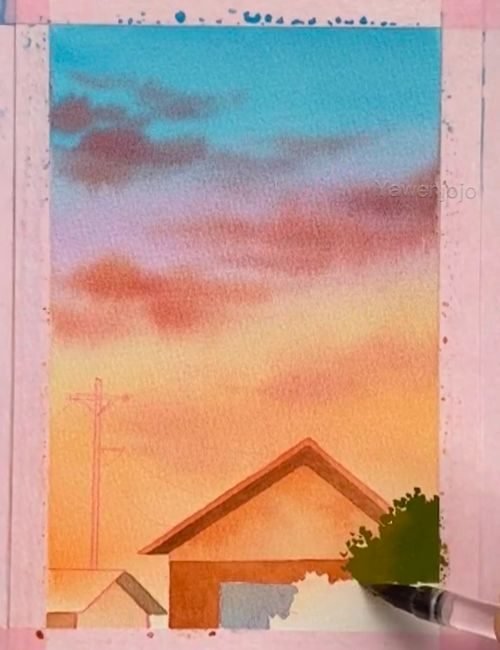
watercolor

Step 8

Paint bushes: If you've included trees or other foliage in your scene, paint these using a combination of greens, yellows, and browns. Remember to vary the tones and shapes to create a natural look.

watercolor

Step 9

Add details and textures: Using a small brush, add shadows and highlights to the rooftops by applying darker and lighter tones respectively. This will create a sense of depth and dimension. If you've included architectural elements like chimneys or windows, add these details using a fine brush and appropriate colors.
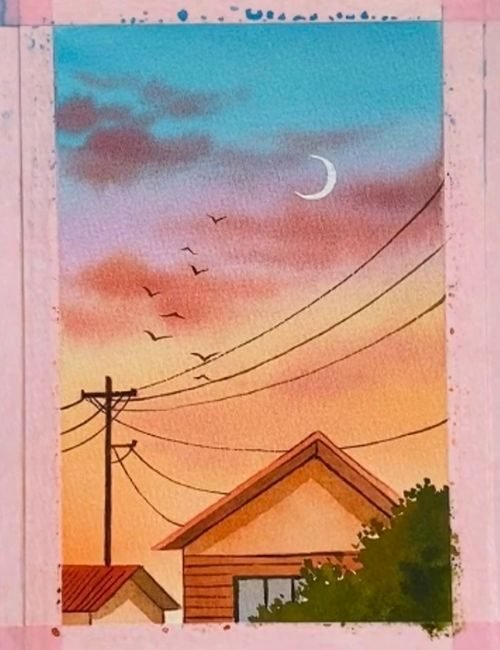
watercolor

Step 10

Paint the moon and birds: As the painting progresses, take the time to refine the details and add finishing touches. Use a smaller brush to add a moon and birds.
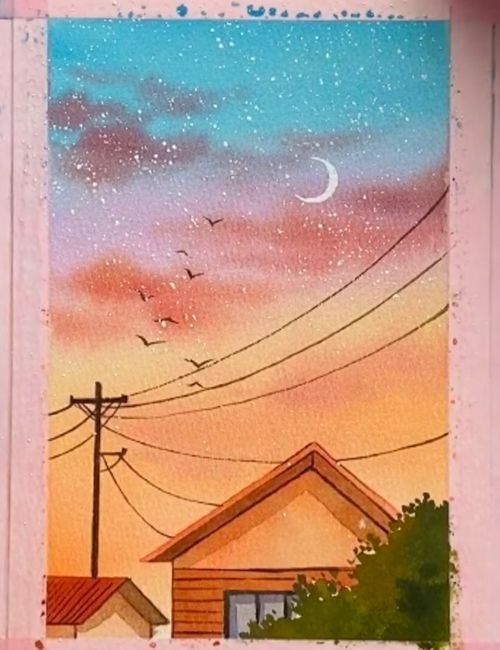
watercolor

Step 11

Final touches and adjustments: Consider adding a few finishing touches to the sky, such as wispy clouds or subtle color variations to create depth and interest. Once you're satisfied with your painting, let it dry completely before framing or displaying it.

Tips for beginners in watercolor painting

Watercolor painting can be a challenging yet rewarding experience, especially for beginners. Here are some tips to help you along the way:

  • Practice, practice, practice: Watercolor painting takes time and practice to master. Don’t be discouraged if your first few attempts don’t turn out as expected. Keep practicing, and you’ll see improvement with each painting.

  • Embrace the unpredictability: One of the unique aspects of watercolor is its unpredictable nature. Embrace the happy accidents and learn to work with them, as they can often lead to beautiful and unexpected results.

  • Experiment with techniques: Watercolor offers a wide range of techniques, such as wet-on-wet, dry-brush, salt, and more. Experiment with different techniques to find what works best for you and your style.

  • Observe and study: Take time to observe and study the way light and shadows interact with different surfaces, colors, and textures. This will help you better understand how to recreate these elements in your watercolor paintings.

  • Be patient: Watercolor painting requires patience and a gentle touch. Don’t rush the process, and allow each layer to dry completely before adding the next one.

Conclusion

Congratulations! You’ve completed this step-by-step watercolor tutorial, creating a stunning sunset and rooftops scene. Remember, the beauty of watercolor lies in its fluidity and unpredictability, allowing you to embrace your unique style and interpretation.

If you enjoyed this tutorial and would like to explore more watercolor techniques, consider enrolling in our comprehensive watercolor course. Our experienced instructors will guide you through a series of lessons, providing personalized feedback and support to help you develop your skills further. Visit our website at [insert website link] to learn more and sign up today!

Watercolor painting is a lifelong journey, and with practice and dedication, you’ll continue to grow and create breathtaking works of art. Embrace the challenges, celebrate the happy accidents, and most importantly, have fun with this captivating medium. Happy painting!

Trending Posts

Follow Us

Welcome to Bujoart, where creativity knows no bounds! At Bujoart, we believe that art is not just a skill, but a form of expression. Whether you’re a seasoned artist or just starting out on your creative adventure, we have something for everyone.

Popular Articles
Newsletter
Subscribe for more!
Categories
Instagram
Facebook Group
Edit Template